Like any good Jew (and any good baker), I’m always looking for ways to refine my challah to make it the *ultimate* challah – a moist, tender interior with a hint of sweetness, encased by a slight and shining crust with just the right amount of resistance when taking a bite. Oh yum.
Previous attempts to perfect recipes have proven rather indulgent – how many chocolate chip cookies can one person make (and consume) in a matter of weeks without teetering on the edge of self-inflicted type 2 diabetes? Thankfully Shabbat provides the perfect reason to produce loaf after loaf of lovely, braided bread.
Most people have their beloved Bubbe’s recipe, yet no matter what favorite recipe I try, I always want to tweak something. The crust is too thick. The crust is too thin. The interior is too moist or lacking in flavor. Or it’s too eggy, too oily or dry. Not that these critiques stop me from eating it; I’m never going to say no to challah.
I call this recipe my “Evolving Challah” recipe. Every week I play with something in it, but it’s proving to be a solid base to work from. I’d like to think that someday soon, I’ll be rubbing elbows with all of those successful baking bubbes. I think that’s the kind of status reserved for age, however.
If you’ve never baked with yeast before, this is a great recipe to start with, it’s very forgiving and simple to pull together. There’s nothing more satisfying than pulling your own loaves of challah from the oven.
Evolving ChallahMakes two medium sized loaves 3 teas. active yeast |
 |
In a large bowl, combine the the yeast and sugar, mix to combine. Add 1/4 cup of the water and let it sit for about 5 minutes to allow the yeast to proof — it should expand and make the water cloudy. If it does not, your yeast may have turned. Sad day. Add remaining water, 2 whole eggs, the egg yolks, oil and honey and whisk to combine. In a smaller bowl, combine 4 1/2 cups of flour with the salt. One cup at the time, incorporate the flour into the liquid mixture until a soft dough comes together. Turn out onto a floured surface and knead, incorporating more flour as kneaded (get it?) until you have a beautiful ball of dough that is smooth and slightly tacky, but not sticky. This will take 5-8 minutes.
Lightly grease a bowl and place dough in it, turning to coat. Cover loosely with a towel and place in a warm spot to allow the dough to double in size, about 2 hours. Punch down the dough and turn out on a floured surface. Remember to say your blessing like the good little Jew you are! Divide the dough into two roughly equal pieces. I normally make 6-strand braided loaves and rather than confuse and frustrate you, I’ll direct you to this awesome braiding tutorial for a fantastic walk-though for a variety of techniques.
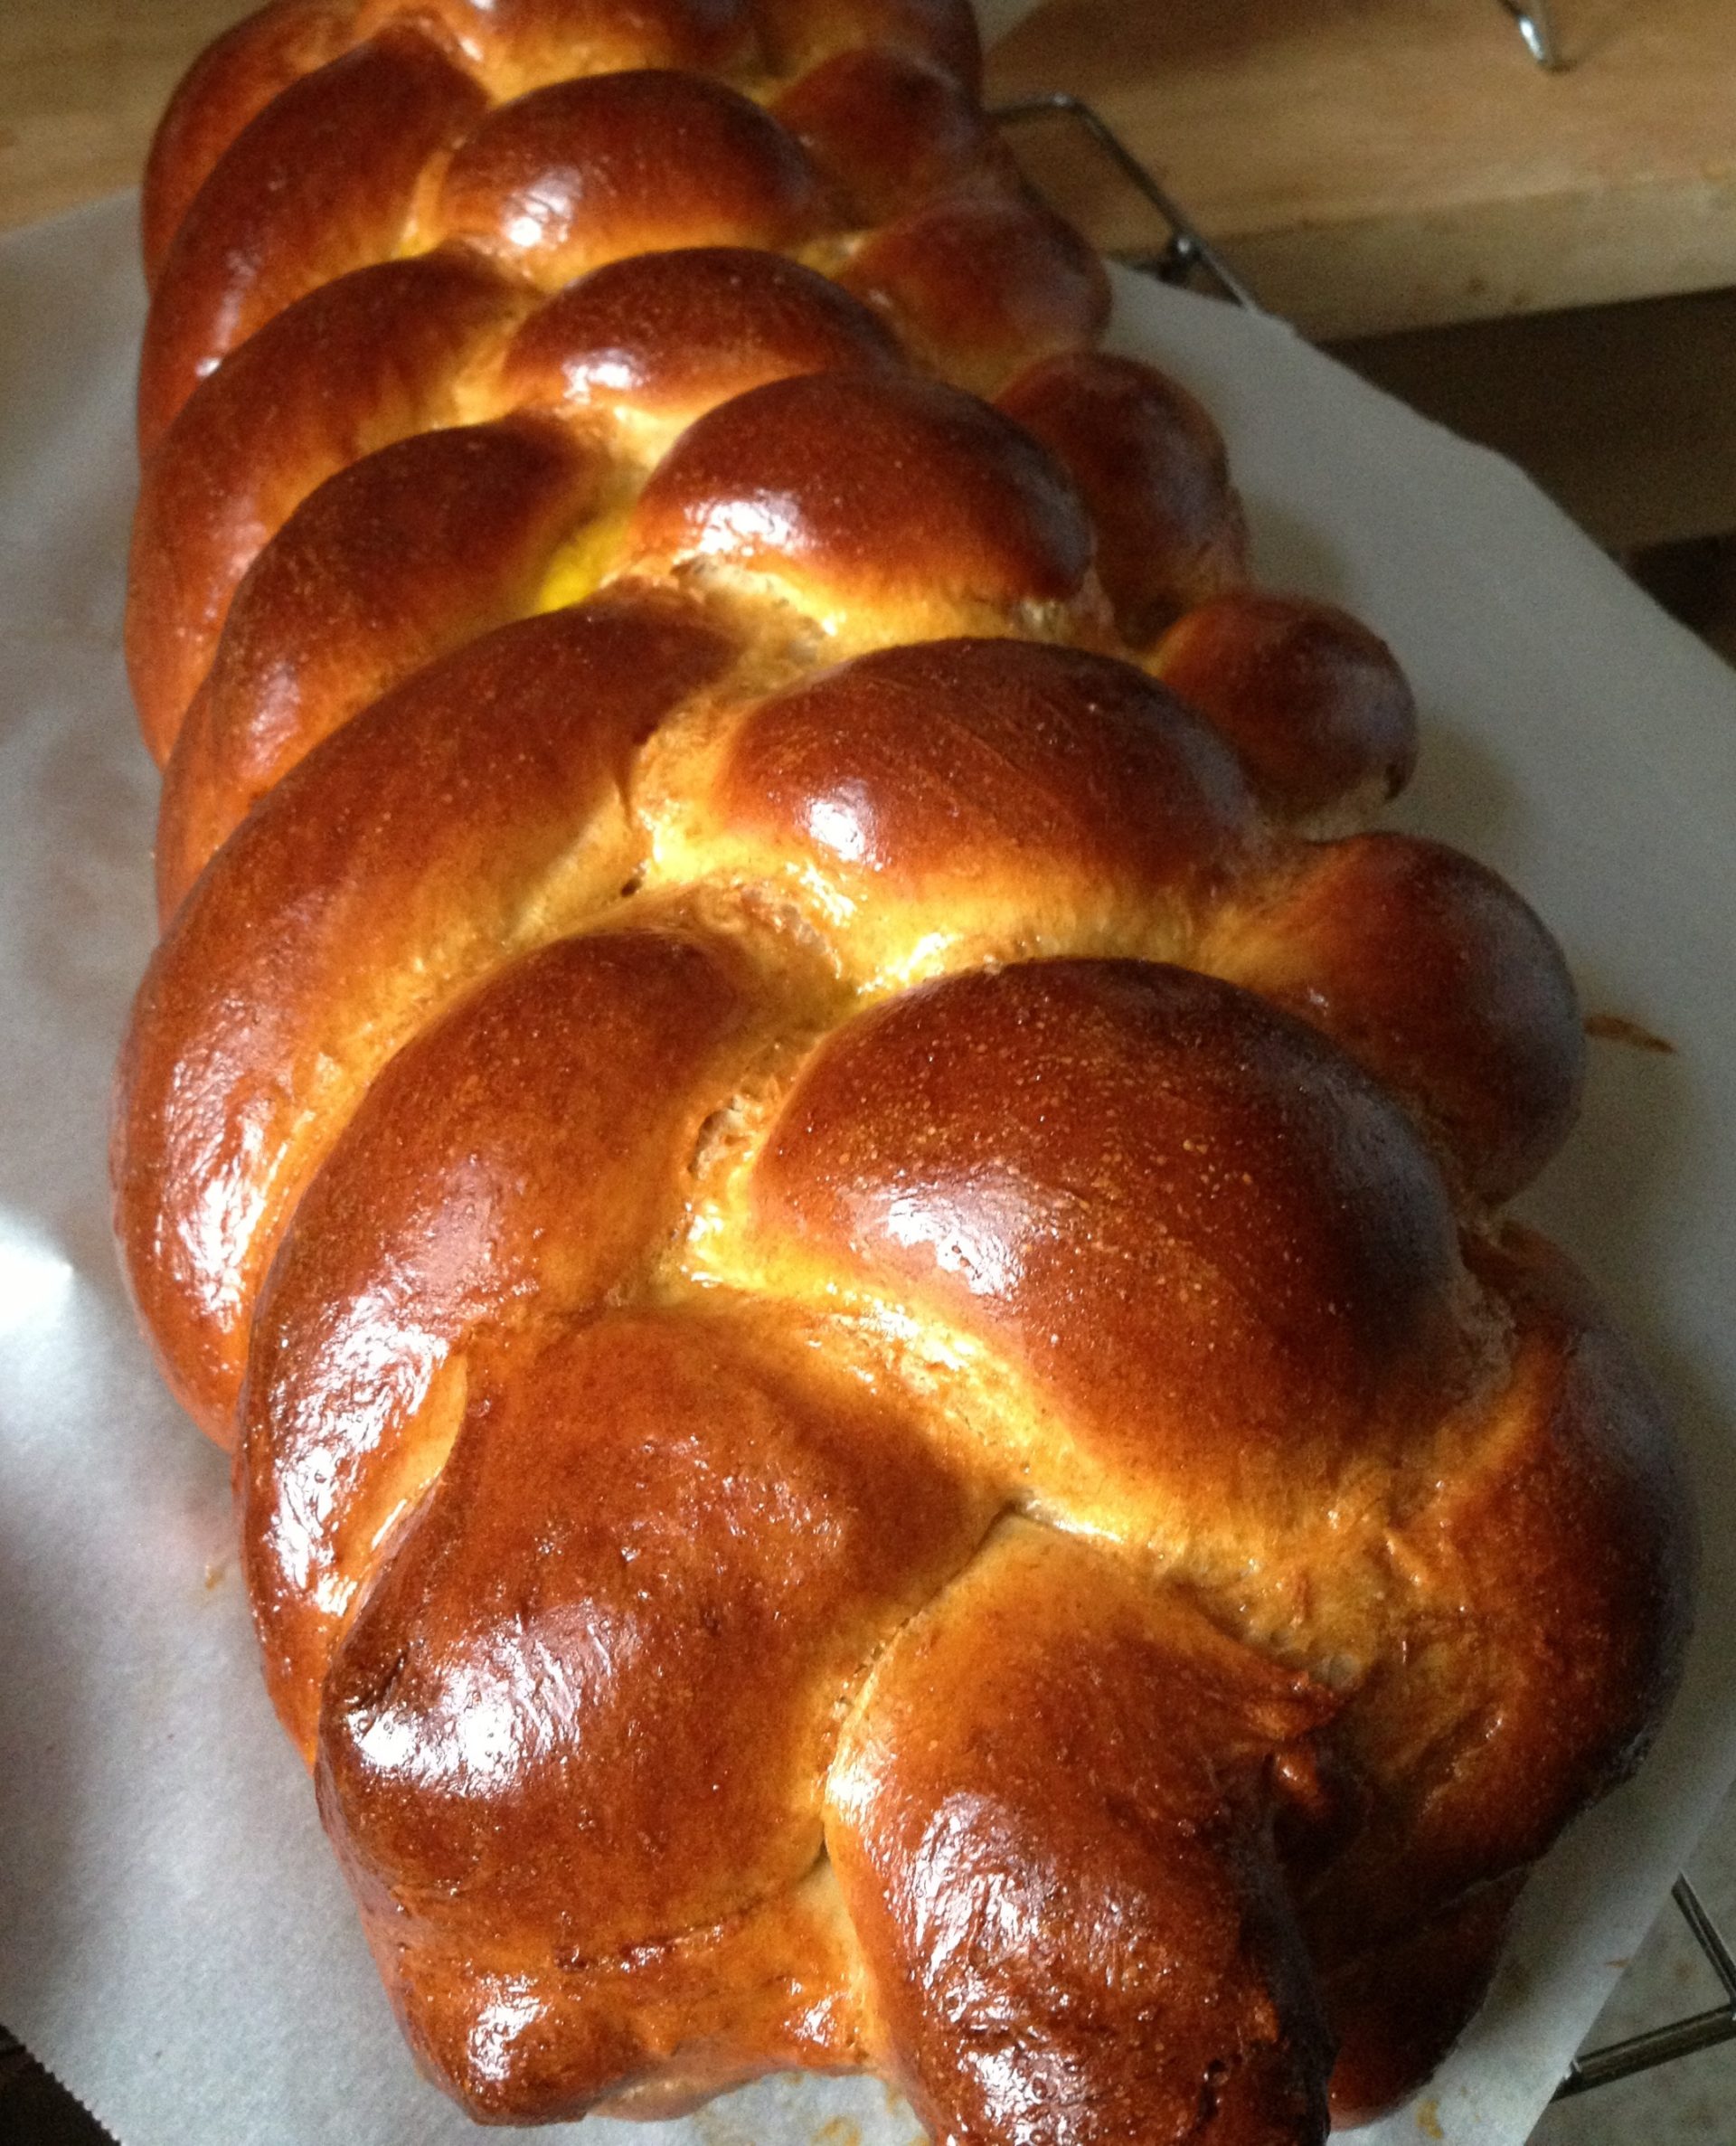
Once you’re braided up and ready to go, place each loaf on a baking sheet, either dusted with some flour or on parchment paper. Preheat oven to 350. Loosely cover the loaves and let them rise for about 45 minutes, until they’ve risen and start to look more like bread and less like Play-doh. In a small bowl, whisk the remaining egg and lightly brush a glossy coat over each loaf. Reserve the egg wash and set aside. Bake the loaves for 20 minutes, then pull them out to reapply the egg wash over the entire loaves — they will have expanded and some white areas will have become exposed. Egg wash those puppies so they get lovely and browned. The extra wash also makes it pretty and shiny.
Bake for 18-20 more minutes. To tell when the loaves are done, use a potholder to carefully turn a loaf over, then tap on the bottom. It should sound hollow.
Place the baking sheets on cooling racks. Let the loaves cool for about 5 minutes then be sure to remove them from the pans to ensure an even crust all-around.
*All-purpose flour has less gluten in it than bread flour. For the purposes of challah, I think it makes a more tender crumb.
Enjoy! And please leave comments with your tried-and-true challah techniques. I’m always looking for next week’s tweak!
